

- Pro plan: 10 domains
- Business plan: 100 domains
- Advanced plan: 250 domains
- Enterprise plan: Unlimited domains
Not sure which custom domain to use? Check out our guide on choosing a custom
domain for some tips.
Complimentary .link custom domain
If you’re on a paid plan on Dub (Pro plan and above), you can claim a complimentary .link custom domain and use it as your short link domain – no DNS setup needed.
Step 1: Add a custom domain
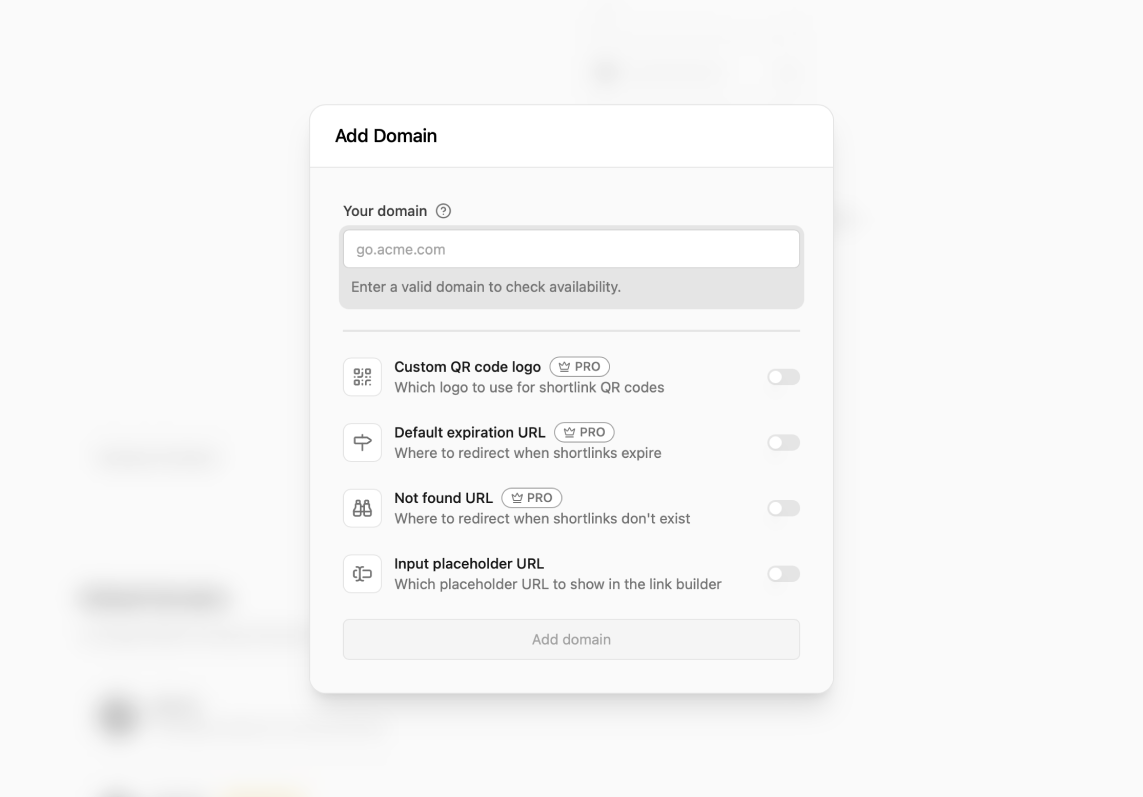
Once you have a custom domain, you can add it to your Dub workspace by following these steps:- Navigate to your workspace’s Domains page – you can do that by clicking on the Domains link in the menu bar at the top of your workspace dashboard.
- Click on the Add Domain button.
- Enter the domain you want to use and click Add domain.
Step 2: Configure your domain
After adding your domain, you’ll be presented with a DNS record that you’ll need to add to your domain’s DNS settings.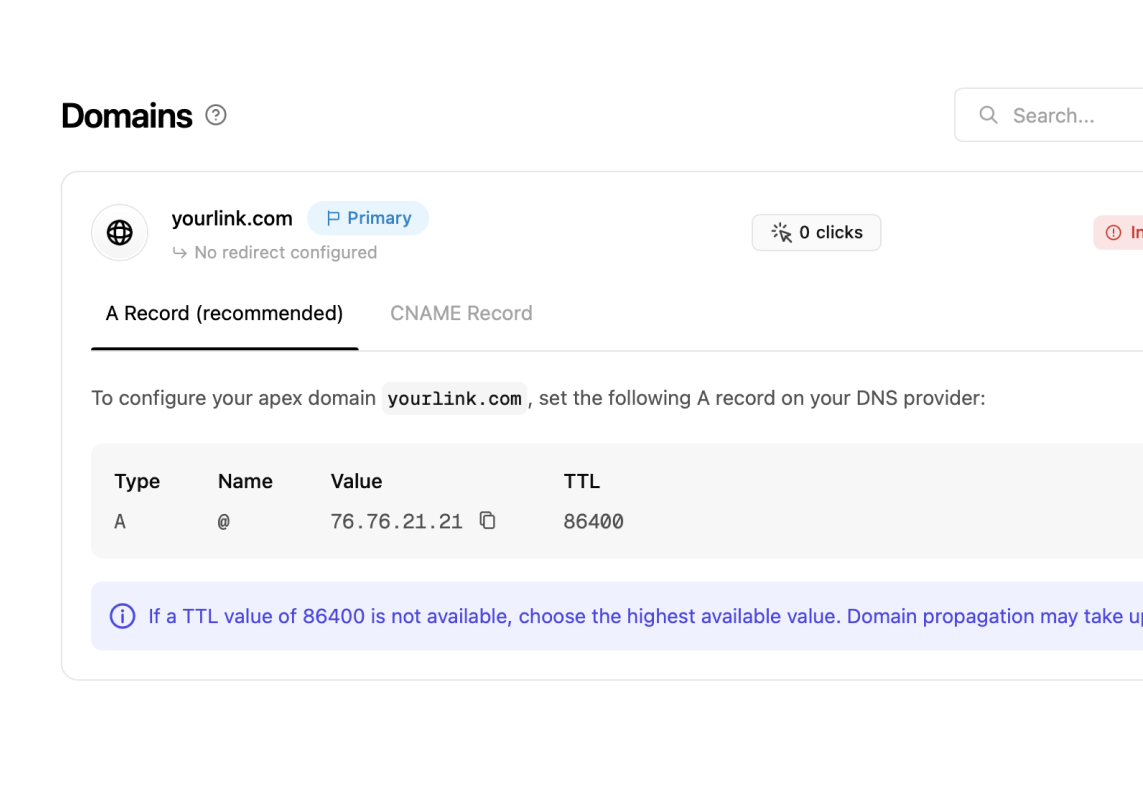
Step 2a: Adding an apex domain
If you’re adding an apex domain (e.g.example.com), you’ll need to add an A record with the following values:
- Name:
@(or leave it blank) - Value:
76.76.21.21 - TTL:
86400(or the highest value possible)
Step 2b: Adding a subdomain
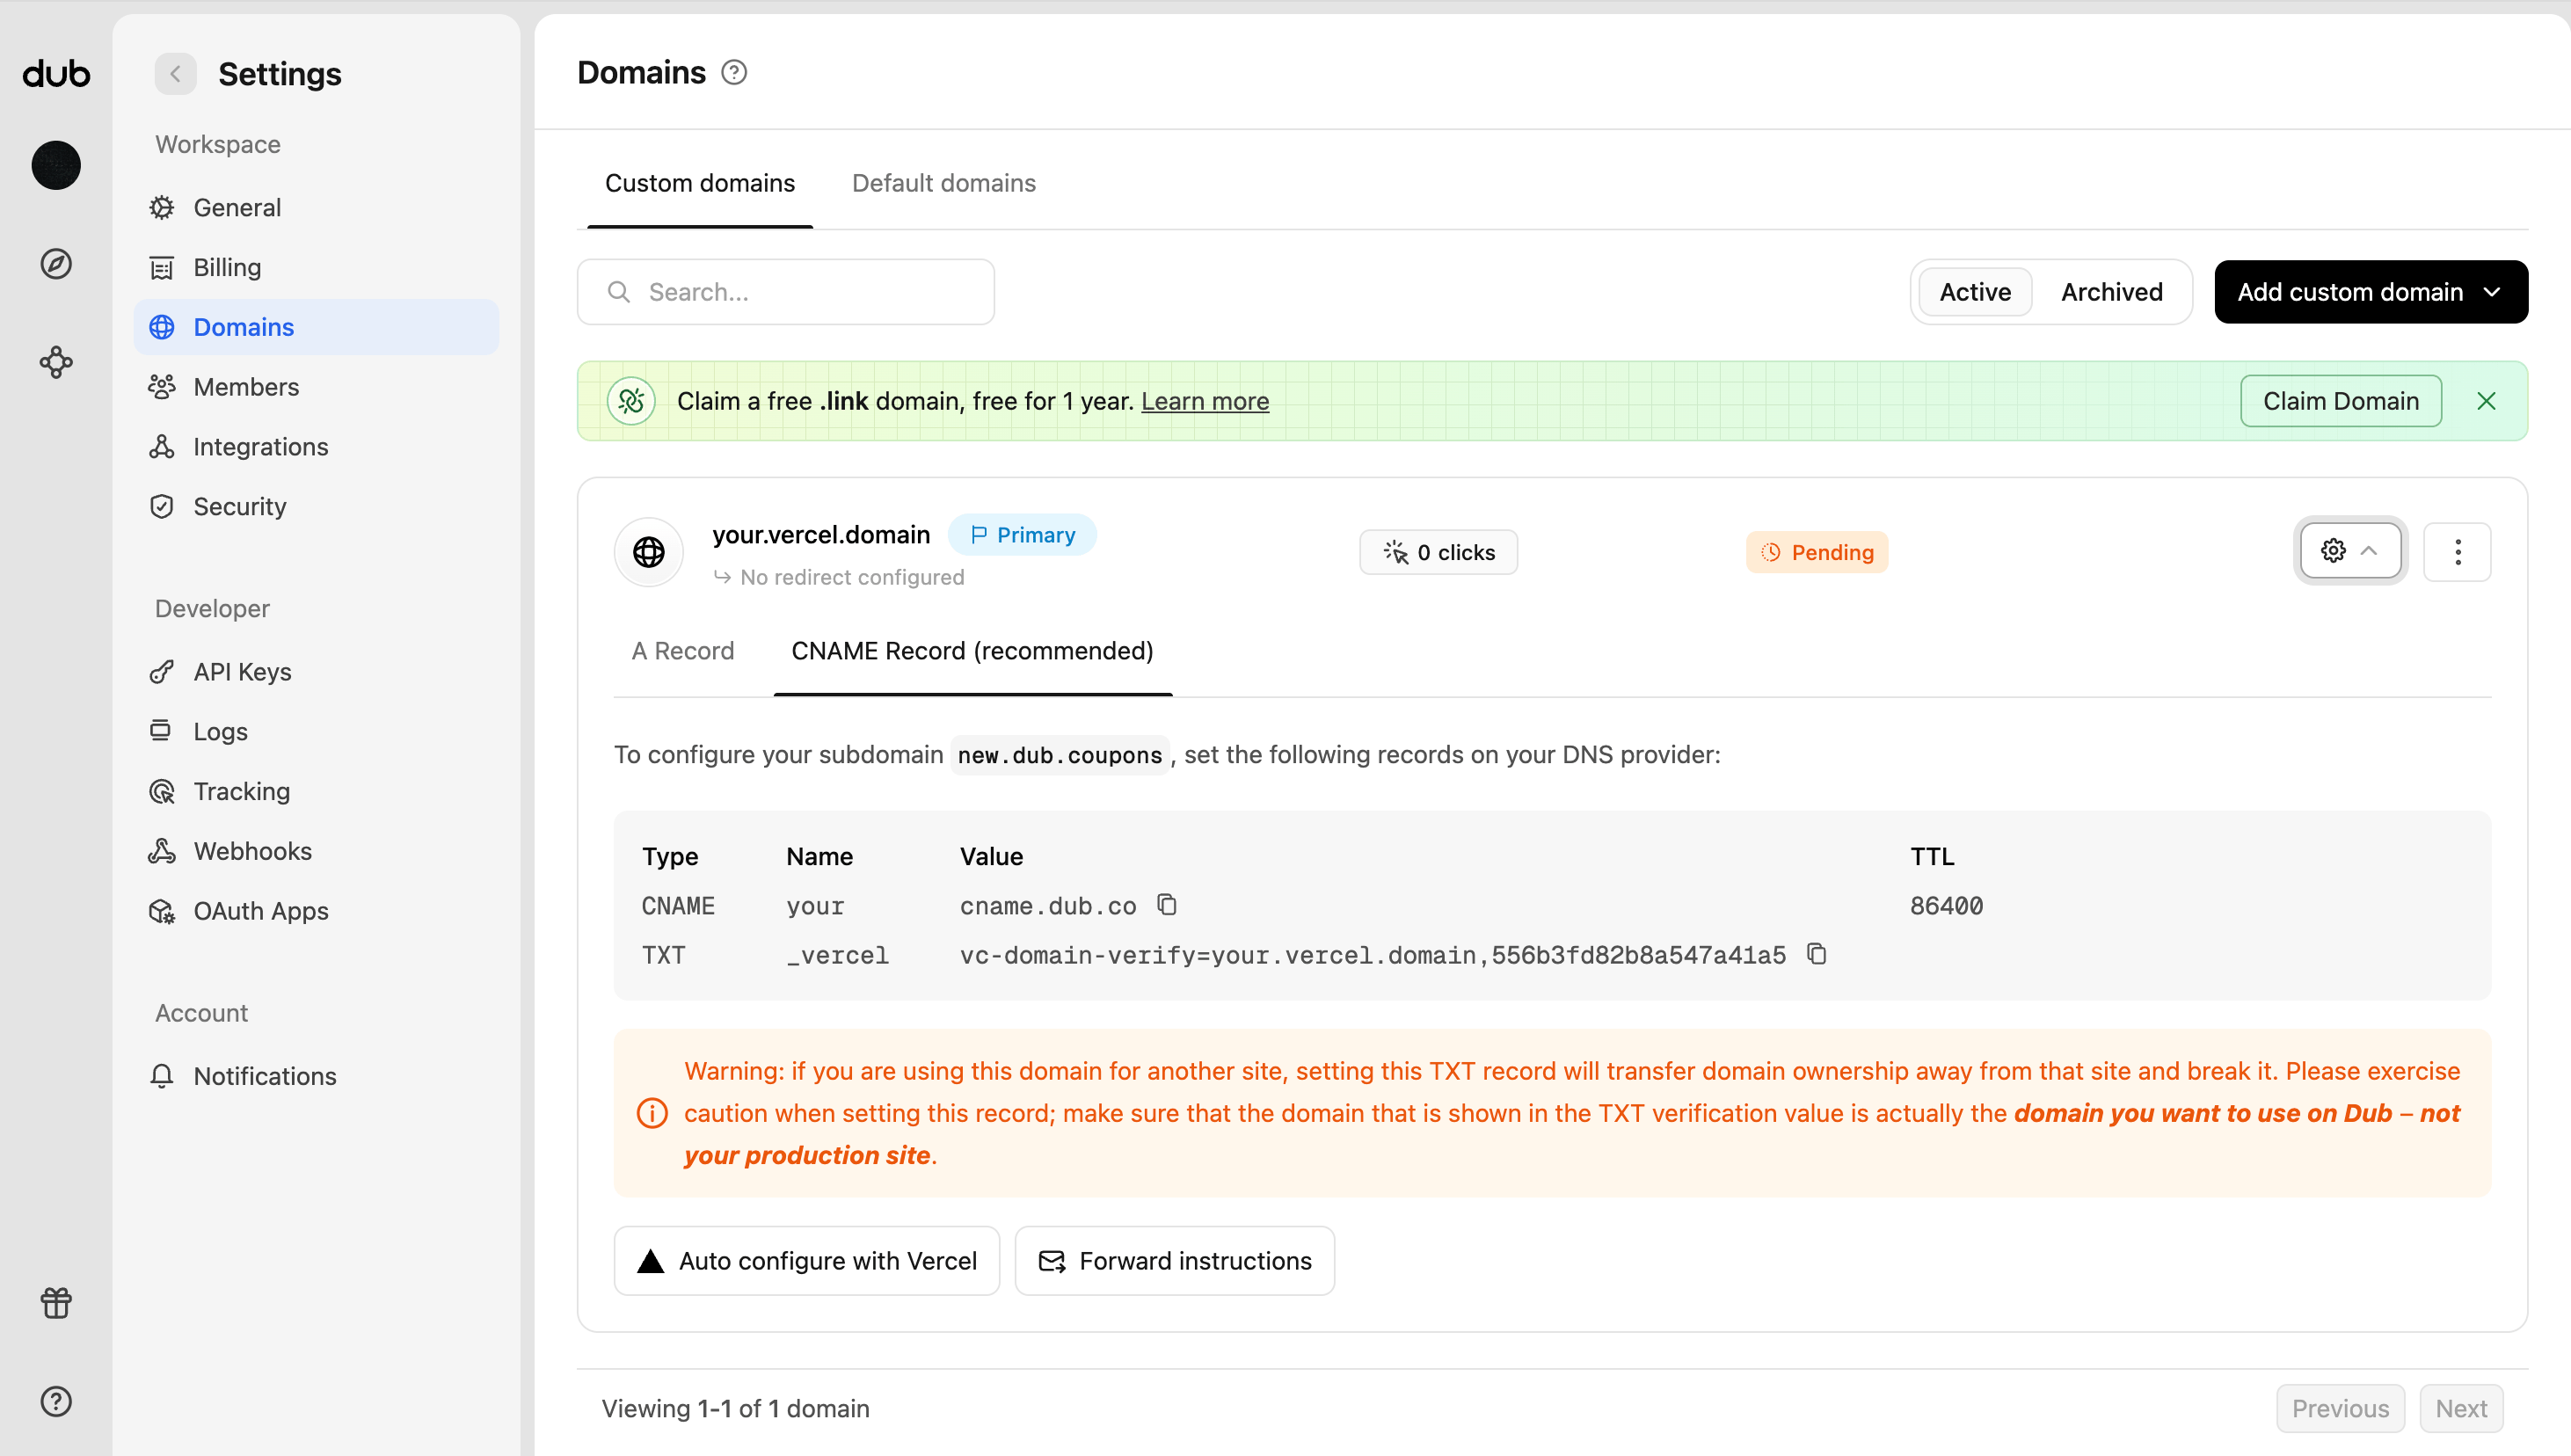
If you’re adding a subdomain (e.g.go.example.com), you’ll need to add a CNAME record with the following values:
- Name:
go(or whatever subdomain you want to use) - Value:
cname.dub.co - TTL:
86400(or the highest value possible)
www. as a subdomain, since the www. subdomain will always redirect to the apex domain instead.
We recommend using the following variations for your subdomains:
go.example.comtry.example.comlinks.example.coml.example.com
Step 3 (optional): Verify domain ownership
This step is only applicable if you are adding a domain that is currently
being used on Vercel.
If you used Auto configure in Step 2, this TXT record is added
automatically and you can skip the rest of this step.
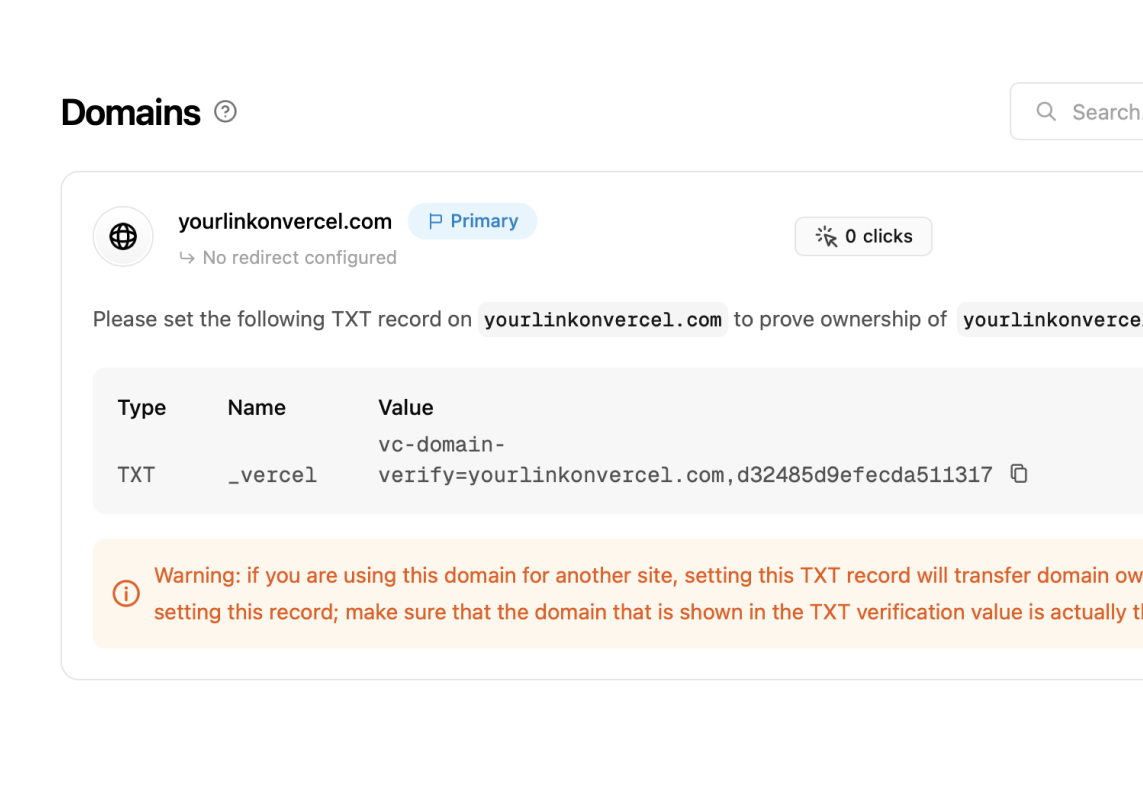
- Name:
_vercel - Value:
vc-domain-verify=go.yourdomain.com...(the value will be provided to you on the Dub dashboard)